

My Backup Strategy
Bruno Fujii
5 min read
Over the years I created a photography backup system that is reliable, scalable and on the budget as it can be. Internet and more specifically YouTube is flooded with these kind of content. Although some have nice tips and valuable information, I personally mixed some of the basic ideas and perfected to my custom workflow.


Summary
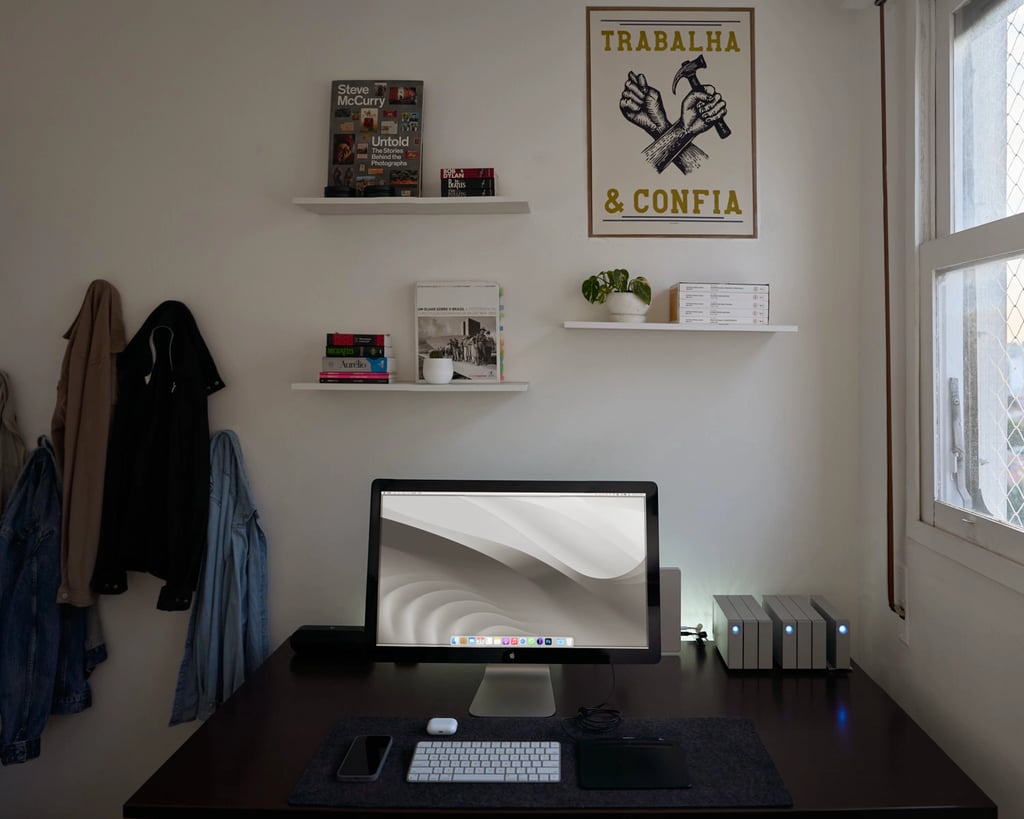
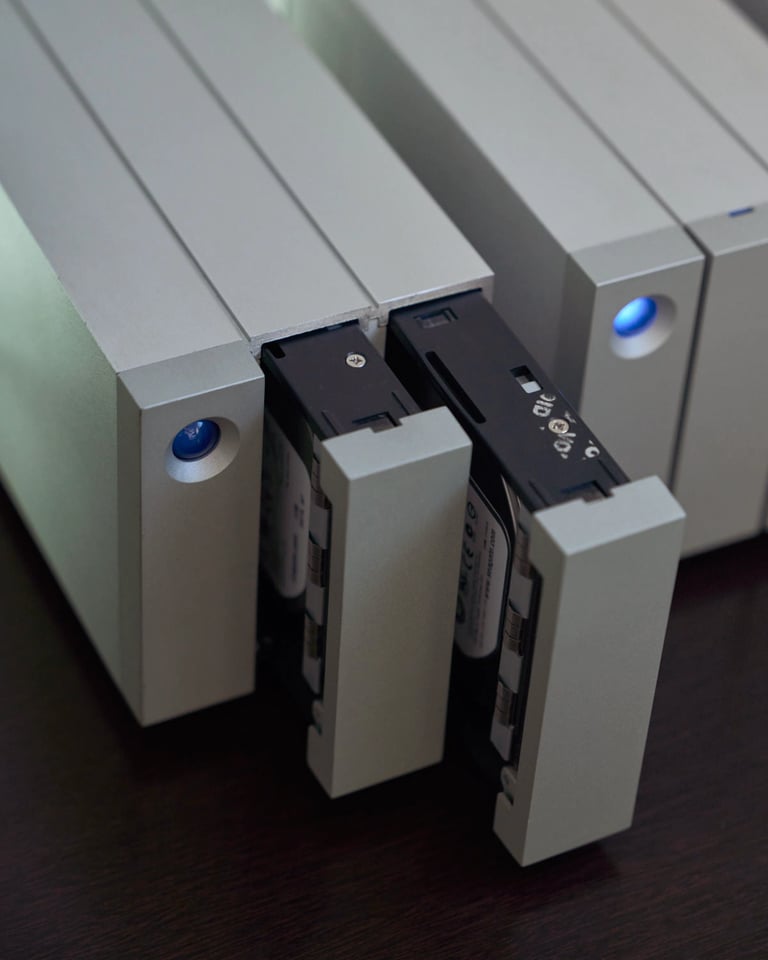
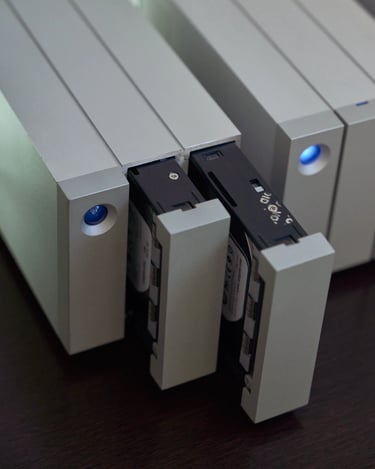
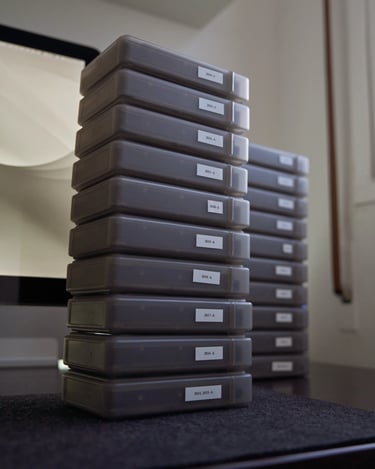
Basically the current project I'm working on lives in my internal MacBook storage. Once they are done, I copy them over to a 2-bay external hard drive in RAID 1 configuration (mirroring the hard drives in case one goes bad). I also transfer the final image files my personal self-hosted cloud server. Once a year I make two redundant archive hard drives with another 2-bay external hard drive in JBOD configuration ("Just a Bunch of Disks"). Finally I do catalog them in case I need to find specific files later.
As for the hardware I use two Lacie 2Big Thunderbolt 2 in daisy chain for convenience, but this can be easily replicated with any hard drive enclosure with RAID and a simples hard drive "toaster" dock for archiving.
The most ubiquitous information you'll find if you want to create a backup system is the "3-2-1 rule" and that's for a reason, which is just the thinking behind the idea that if you have 1 you have none, and if you have 2, you have 1; or: two is one, one is none. Take this to the extreme and you should also have another copy at an off-site location — most people rely on cloud storage for this. I use Nextcloud on my server with custom url address for this, but other services like Dropbox, Google Drive and One Drive works the same.
So if you are a professional or just if your files are important for you, the 3-2-1 rule should be the way to go.


3-2-1 Backup rule
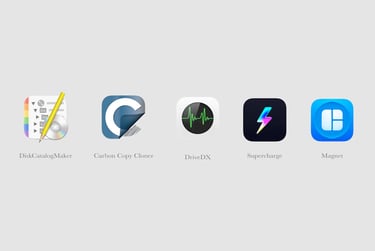
There are a few essential apps I use for macOS, certainly you will find similar Windows software if that's the operation system you use. The idea is just to complement and make some tasks easier in this workflow.
Your hard drive will fail. Definitely it is not if, but when it will fail. This app utility can monitor your drive-health and diagnostic if it is about to fail or not. It is very helpful because two redundant drives may be about to fail and this will prevent a total data loss of your files.
Maybe the most useful of them is this one. I use for the archiving copies I do every year, it creates exact same copy of a hard drive by replicating all data source drive to the destination drive, essentially making a complete clone. The best thing is that if you make some changes in the main disk, it only copies changes made since the last backup, ensuring you only transfer updated data, not the entire drive every time. An alternative to this is the Chronosync.
After I started to create archive disk I found the need for cataloging them (DAM - Digital Asset Management). This software does exactly that. It does catalog all kind of medias, and also it generates small previews you can access when the original disk is offline — very useful for quick inspections. An alternative to this is the NeoFinder.
This one is just a simple and affordable window manager. Windows is known to have this feature and that's was one of the things I really missed on macOS. Since Sequoia Apple added this feature natively, which is great! But I'm still using Magnet because I can create custom shortcut. The one I can't live without is the "Maximize" window with shortcut. There are many others with the same main functionality I just didn’t tested myself, such as Rectangle, Tiles (Free), Swish (powerful with trackpad gestures) and Wins (advanced Mission Control features).
Another thing that used to drive me crazy on macOS is that Finder don't adjust the column view to fit the length of the filename. Every time, I mean every time I had to manually resize it. I use Supercharge mainly for this reason, but it offers a lot of useful features that improve the operating system functionality. Totally recommended.

Essential macOS apps
Naming and organizing projects can sometimes be overlooked. It is one of those things that can get confused and messy overtime, so the important thing is to plan and commit to one kind of structure that can be carry on in the long run with a few tweaks if needed. It will make your life easier, believe me.
Most surprising is that for this, simple is better. I found a solution that works great for what I need and it is flexible enough that can be adapted accordingly the project. With Spotlight on macOS I can easily find what I need just searching for some keywords.
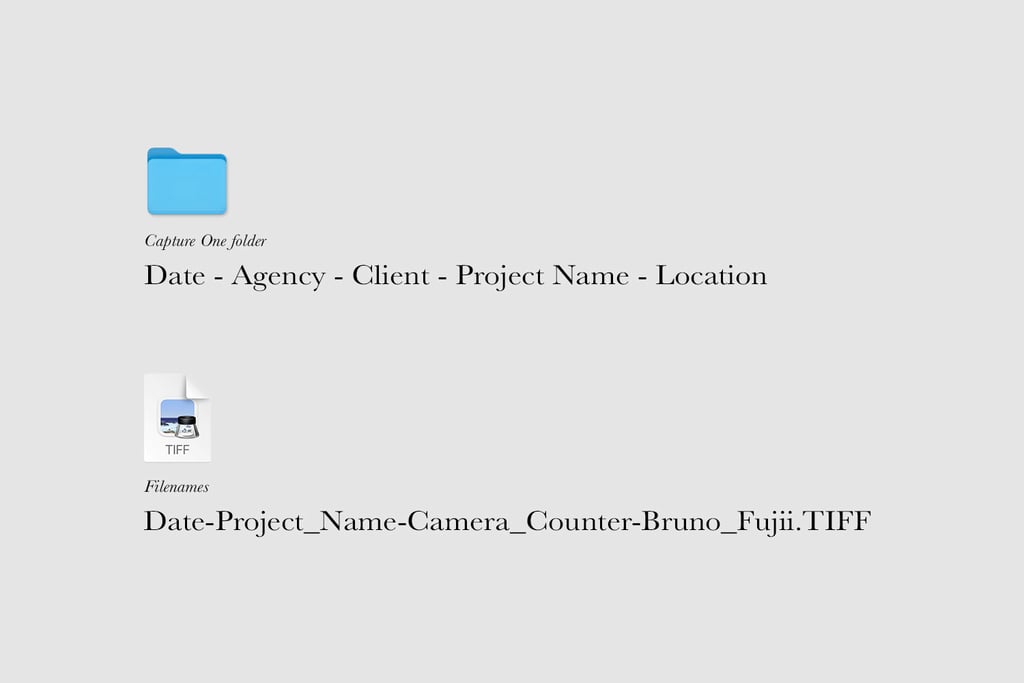
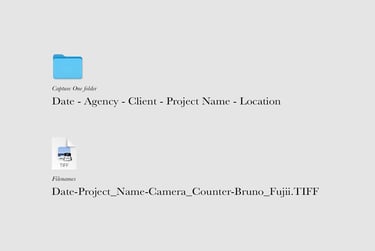
Capture One
I made the switch very early to Capture One and I used the "Session" folder structure since them. I just create a new "Edit" folder with the final retouched images, add to the "Session Favorites" and that's it. If I'm working on several projects or it is a recurring client, I put them all in the client parent folder.
Filenames
As for the filenames I keep fewer informations on the raw import process (or on the tethered shooting). I do make sure I have the copyright information on EXIF and my name in the end of the file, this is just in case it is shared between client and agencies, or even saved from my website — it also helps on SEO.
Since this is about backup system, I couldn't help but mention TimeMachine. I have a Lacie d2 Thunderbolt2 in daisy chain with the other drives which keep backing up my computer in the background. Once set up it goes unnoticed in the background. I recommend everyone to run some kind of automated backup like this, it have saved me a few times.
It's not the most exciting thing, I'd rather be out shooting, but don't wait for a drive fail on you to start your own backup strategy. Organize your digital life so this won't get on your way later, that's my recommendation.
Bonus tip: Naming scheme and TimeMachine
Share this on: